|
This DIY applies to Pre
09/2001 production coupe BMWs. It is possible to do it on later cars
but there's no need since the LCM can be reprogrammed to accommodate
LEDs.
| No.
|
Description
|
Supplement
|
Qty
|
From
|
Up To |
Part
Number |
Price
|
Notes |
| 01 |
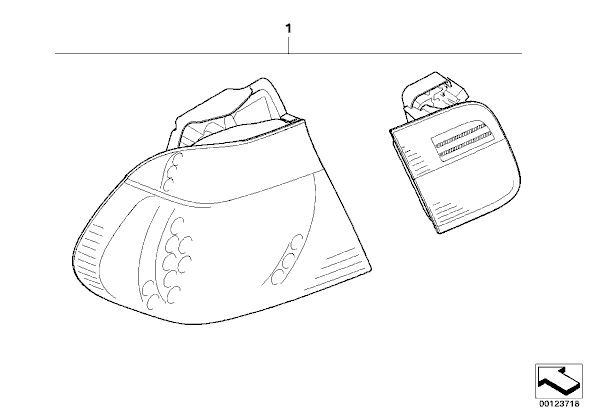
RETROFIT KIT LED TAIL LIGHTS, YELLOW |
|
1 |
|
09/2001 |
63210154471 |
$613.80 |
See EBA
0154476 |
| |
ONLY IN CONJUNCTION WITH
SWITCH UNIT FROM 03/03 SEE HG 61 |
|
|
| 01 |
RETROFIT KIT LED TAIL LIGHTS, WHITE |
|
1 |
|
09/2001 |
63210154472 |
$647.28 |
See EBA
0154476 |
| |
ONLY IN CONJUNCTION WITH
SWITCH UNIT FROM 03/03 SEE HG 61 |
|
There are a couple of things to have in mind:
1. OEM Leds are used for this mod, not aftermarket ones. LEDs from
M3 will fit the Coupe and vice versa.
2. This mod requires cutting and soldering wires, if you are not
familiar with soldering and capacitor/resistor values, take the
schematics to somebody who knows how to and relief yourself from
smoke/electric shock etc. I did the mod with a friend of mine who is
an electronics engineer just to be on the safe side.
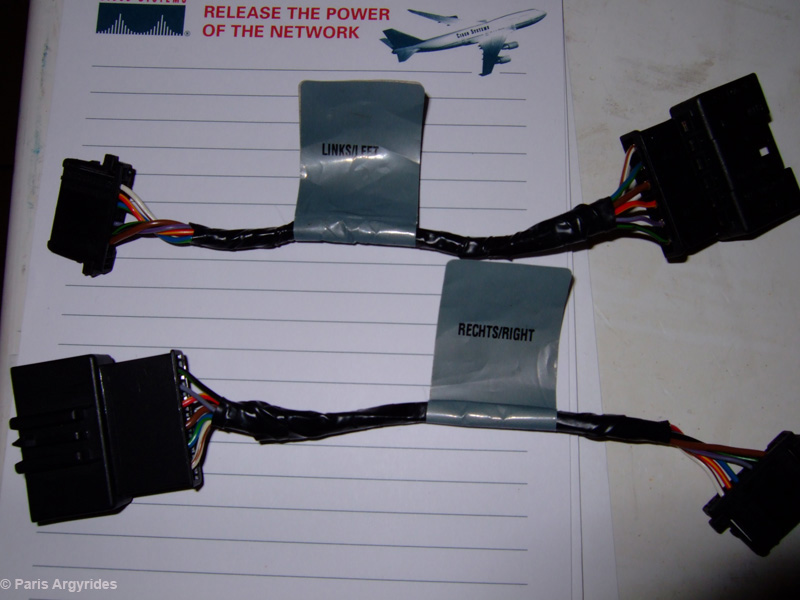
3. In addition to the OEM led clusters, you will need to obtain the
corresponding adapters from BMW or eBay. These adapters convert the
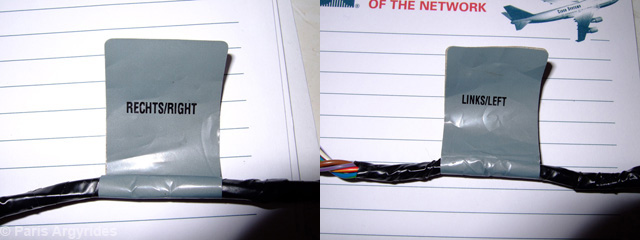
car's plugs for use on LED clusters. Beware as the adapters are
specific for LEFT side and RIGHT side clusters. If you put the
adaptor in the wrong side, nothing will work. They are clearly
marked with left and right anyway.
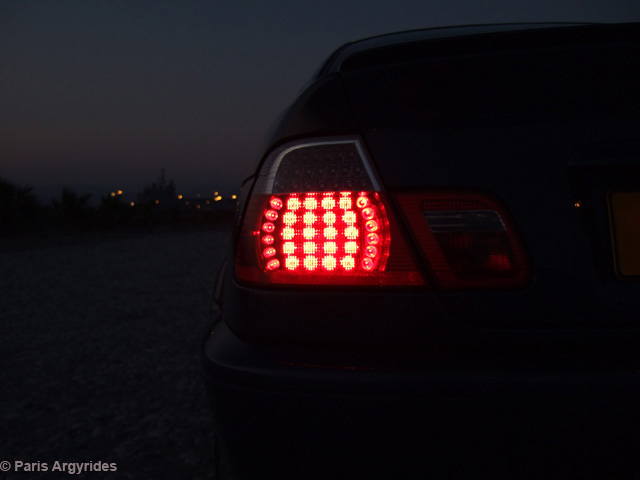
4. The LCM or Light Control Module checks if a bulb is burnt by
sending a 3-volt pulse every minute to the front and rear lights.
This pulse, is not strong enough to light the standard filament
bulbs that you have, but it's enough to briefly light the LEDs.
Therefore, every minute you will see them flashing. To remove this
flashing, I had to create a filter that would route the pulse to the
car's chassis (ground). You need 6 filtering systems.
a. Left Blinker (Green/Blue)
b. Left parking light (Green/Black)
c. Left Brake light (Light Purple/Dark Purple)
d. Right Blinker (Green/Blue)
e. Right parking light (Green/Black)
f. Right Brake light (Light Purple/Dark Purple)
5. Additionally, load resistors must be used to trick the LCM that
you have normal bulbs behind you, or else you will get the "bulb
out" error on the instrument cluster.
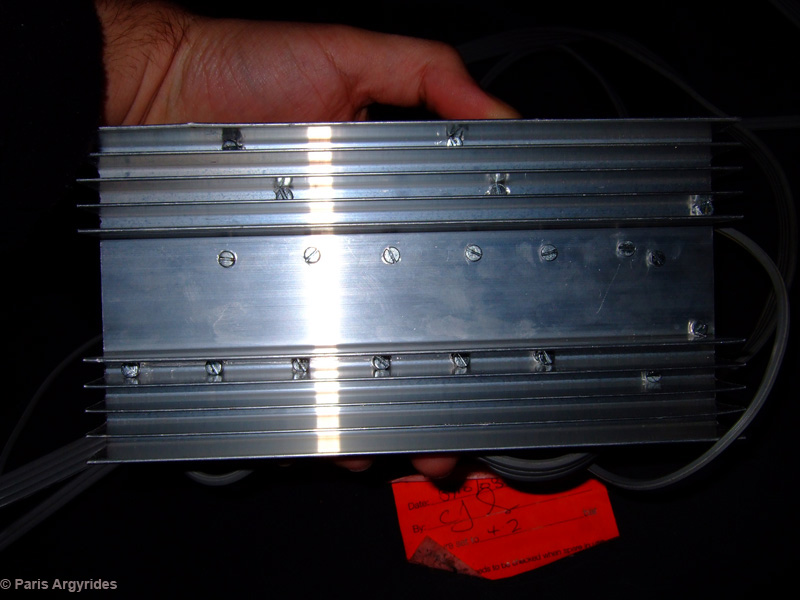
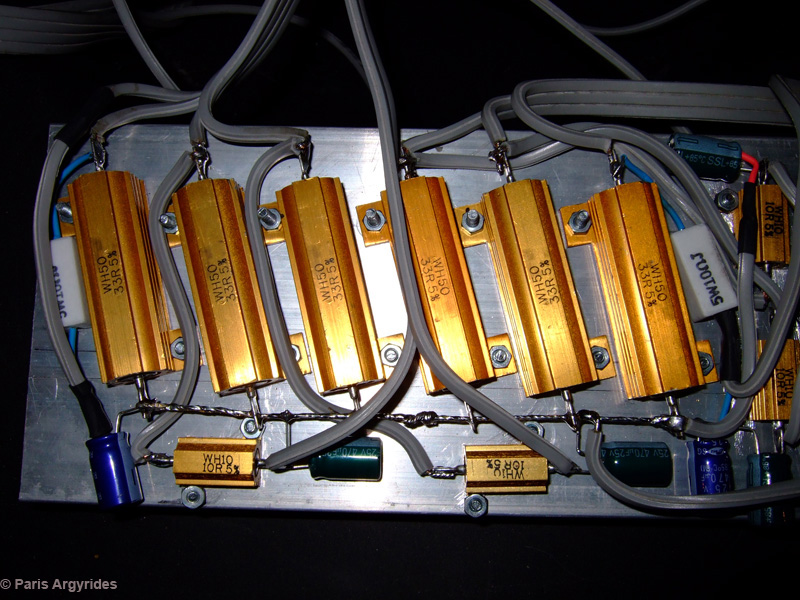
6. I used resistors with integrated heatsinks safely secured on a
large aluminum block with CPU heatpaste between them for optimal
heat dissipation. Heatsinks provide a good way to remove the heat
generated when lights are in operation. The values have been
calculated by measuring current and original bulb resistance. Less
wattage resistors can be used but they will get hotter, so I suggest
using the ones I did. For wiring, I used thick ribbon wires with
good insulation.
Parts List:
a. 6 x 50w / 33 Ohm; Resistors with Heatsinks
b. 6 x 10w / 10 Ohm; Resistors with Heatisinks
c. 6 x 470 uF / 25v Capacitors
d. CPU Heatpaste (Optional but recommended)
e. Aluminum Block (25cm x 15cm) with fins
f. Couple of screws
g. Ribbon wires
h. OEM LED adaptors
Cut the 3 wires from each side, and route connect them as the
schematics below.
3 wires on each side to be cut:
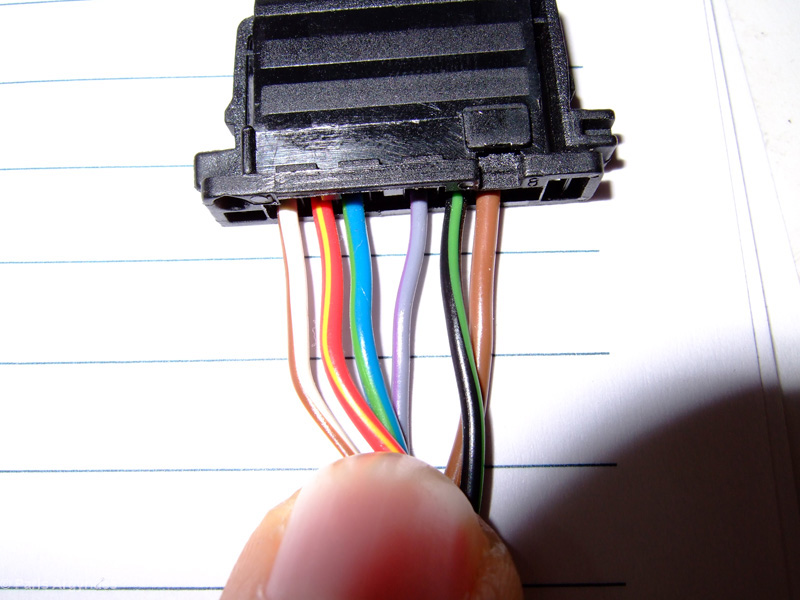
OEM Led Adaptors
LCM
General Schematics
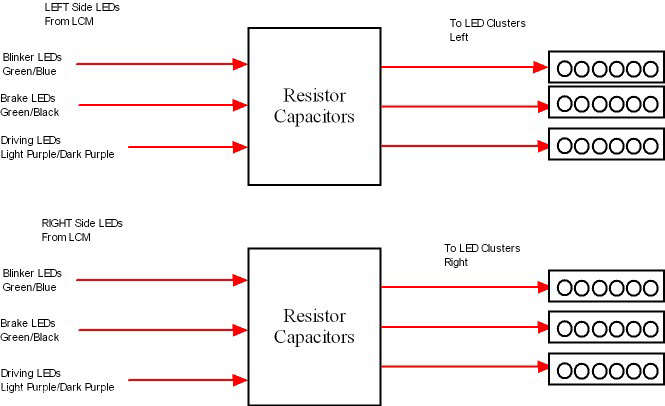
Circuit

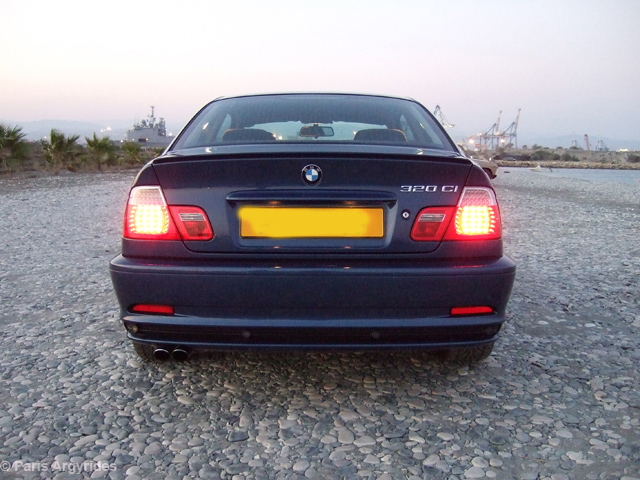
Wires From Left. Later on I
carefully placed them under the rear trunk trim.
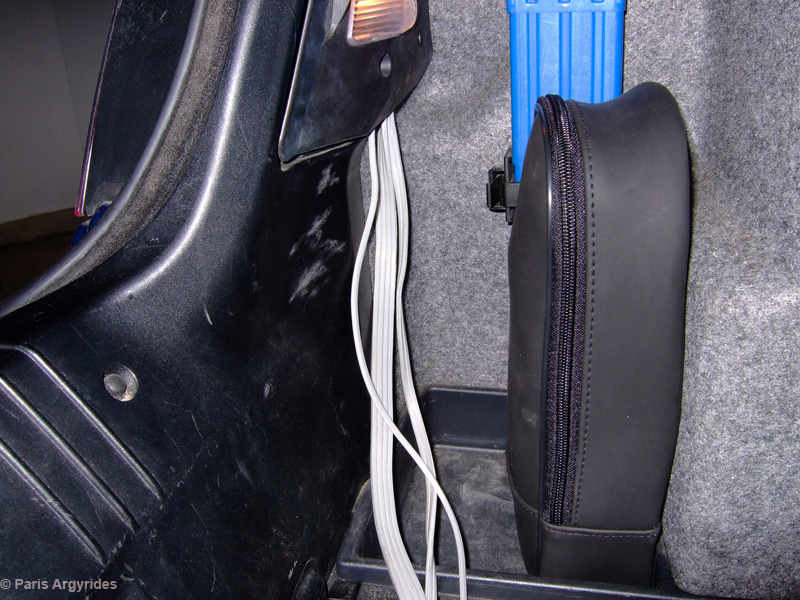
From Right:

Aluminum Block
Complete System:

Later on, I discovered that my
rear brake lights are constantly on when I turn on the driving
lights. This is because there is a constant 5v current running
through the rear lighting system. I assume that this voltage works
as a pre-heat for filament based bulbs in order to light up quick
and prevent premature failure. The 5v current is not enough to light
a filament bulb but was strong enough to light the LEDs.
In order to "remove" this 5v
current, I routed the brake line to a 12v relay. The 5v current is
not enough to close the relay and therefore the brake lights remain
off. When I press the brake pedal and 12v come through the wires,
relay closes and brake lights operate properly. This does not affect
in any way the instantaneous LED light up.
 |