|
Valve Cover Gasket & VANOS (Beisan Systems) Seals |
|
Well since I was going to change the gasket I thought to change the VANOS seals as well since I would be halfway there. VANOS seals are a common failure point in the M54 (and M52/M52TU) engines. The unsuitable for engine environment VANOS piston seals tend to shrink, weaken, harden etc causing the VANOS not to operate properly. Symptoms are stalling at cold starts, loss of some torque, increased fuel consumption. Even though I did not have any stalling issues, I considered it to be a preventive measure.
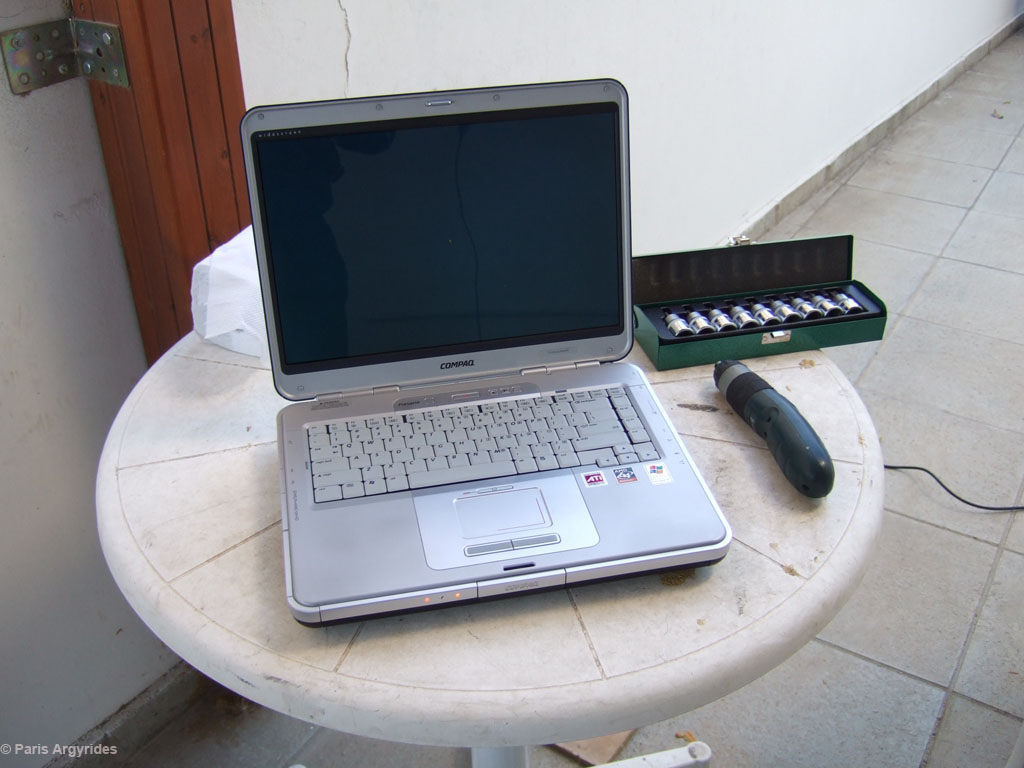
Laptop with the guide from beisansystems & music. 1/2" torx set
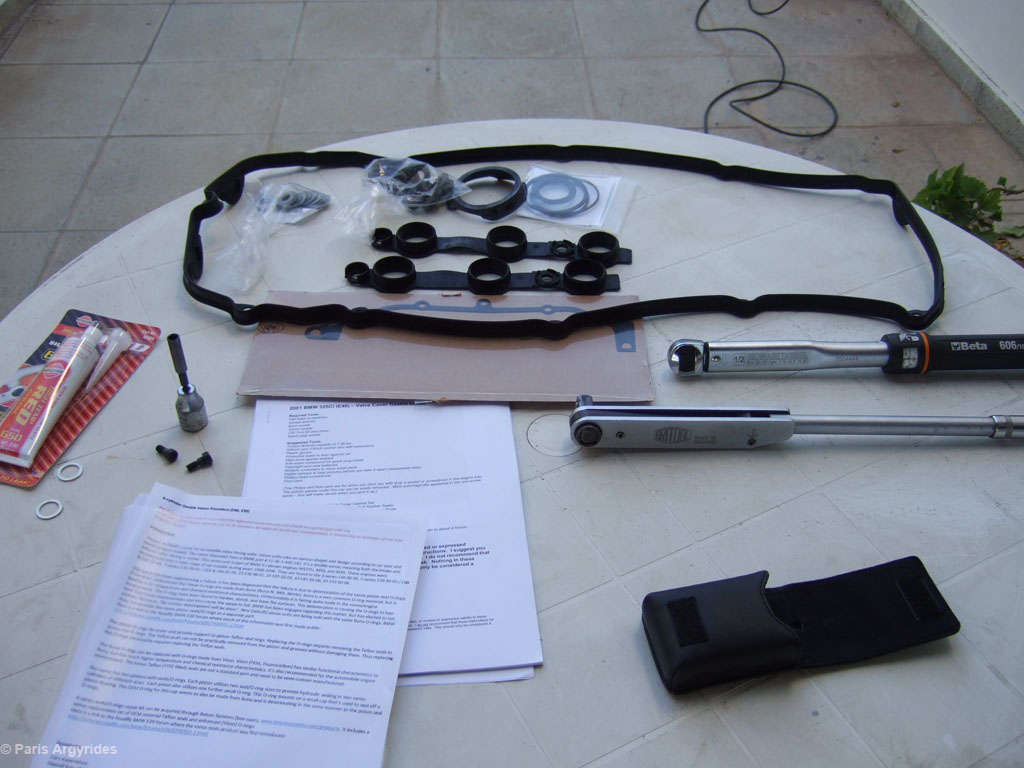
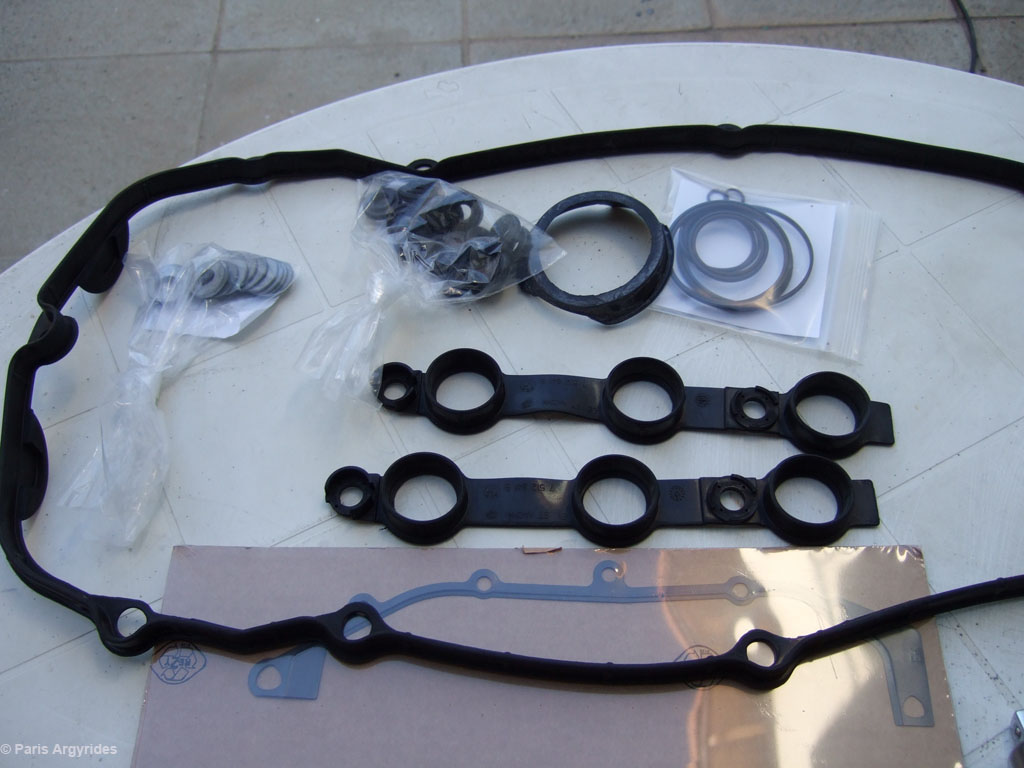
RTV Silicone, valve cover gasket, VANOS seals, torque wrench, 2 VANOS bolts, 2 VANOS oil supply seals, VANOS gasket
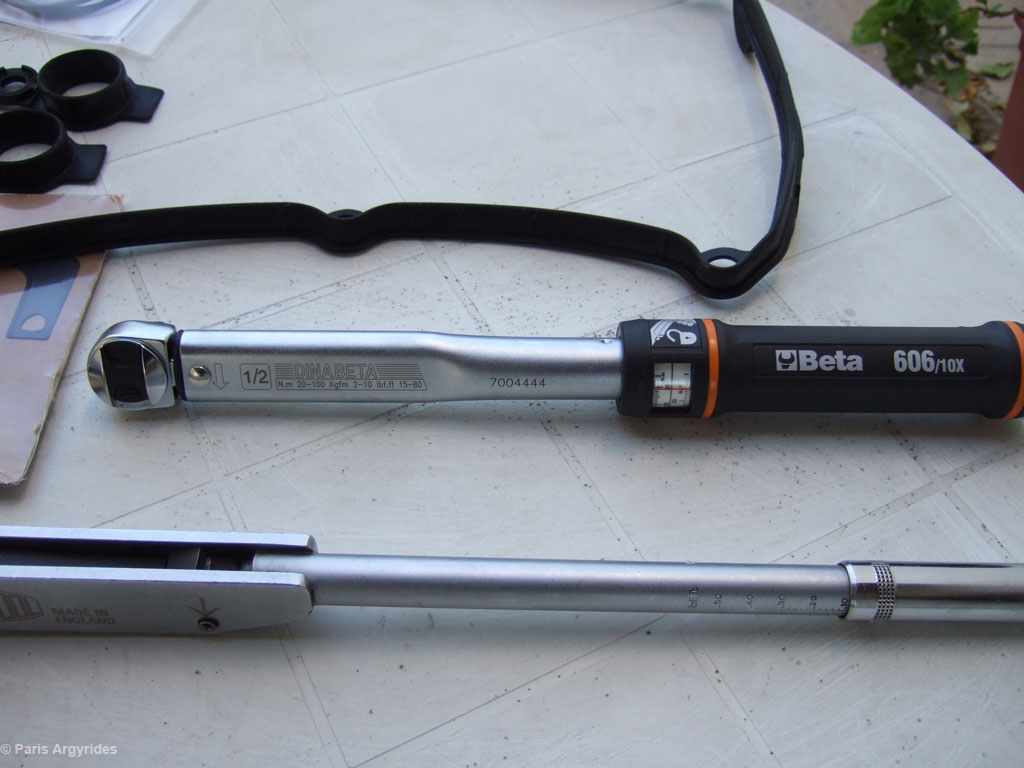
My wrench had a range from 20-100 Nm so I got another one starting from 10Nm as well.
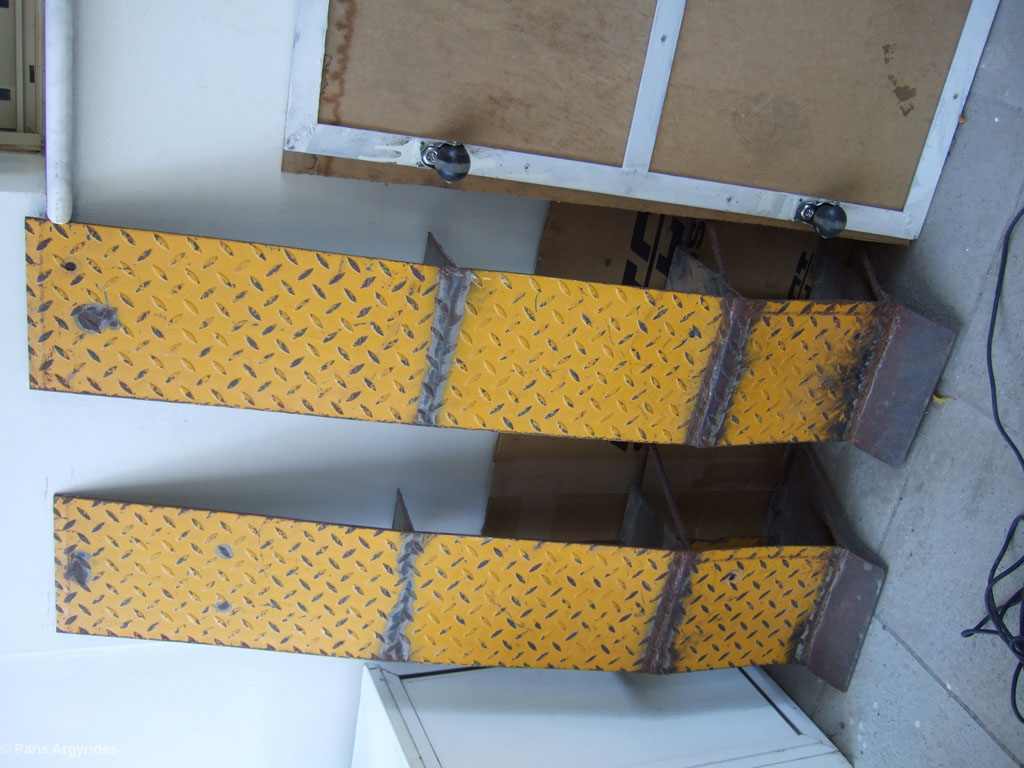
Ramps to allow removal of lower splash shield just in case I dropped a nut or something
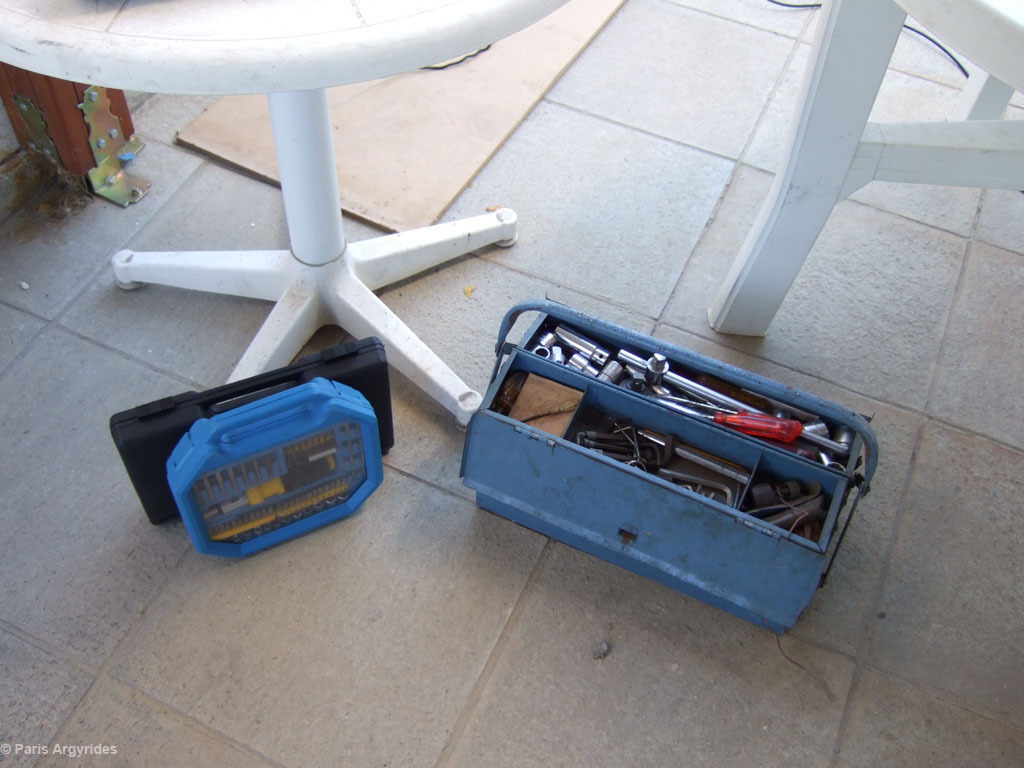
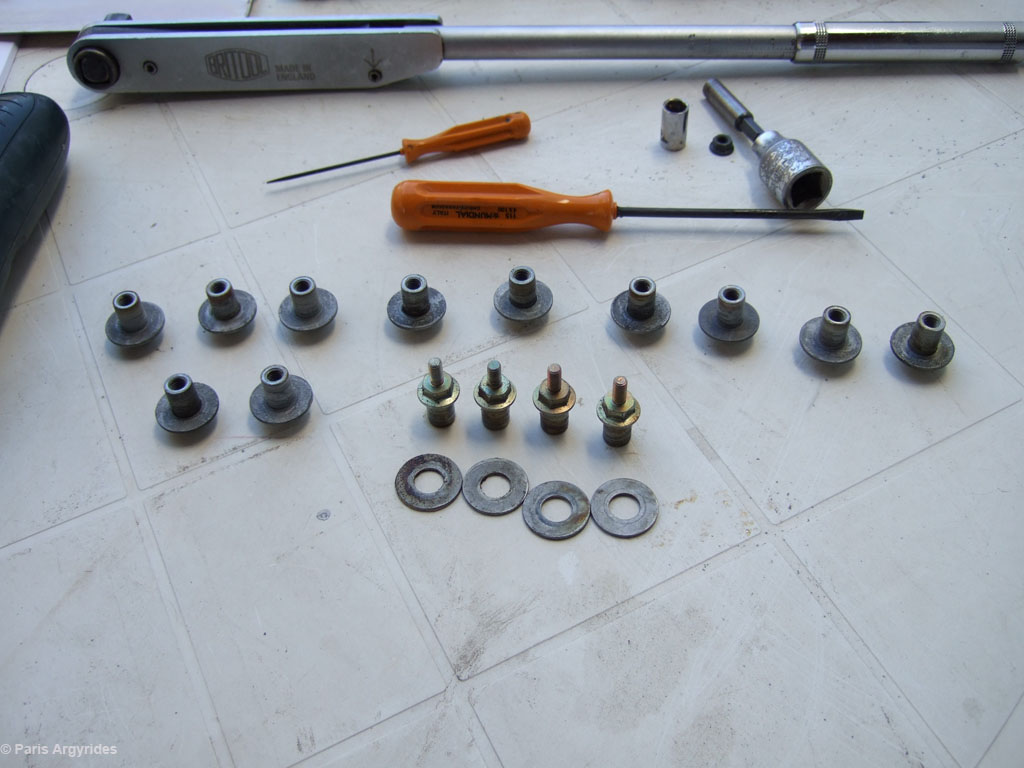
Lots of tools
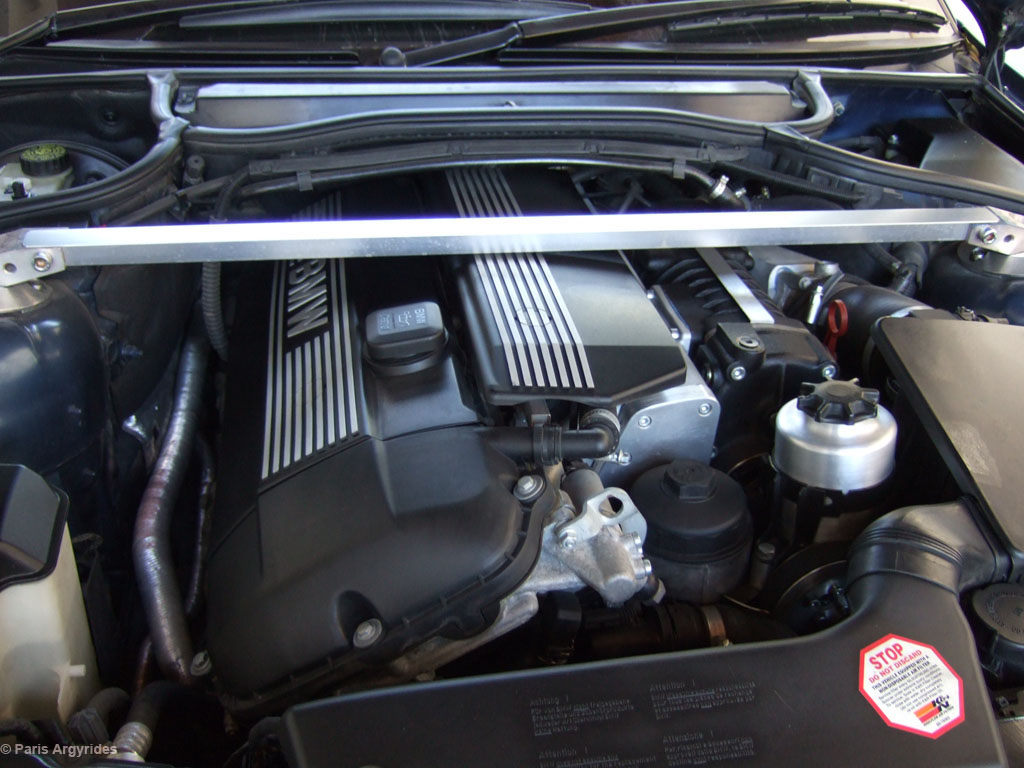
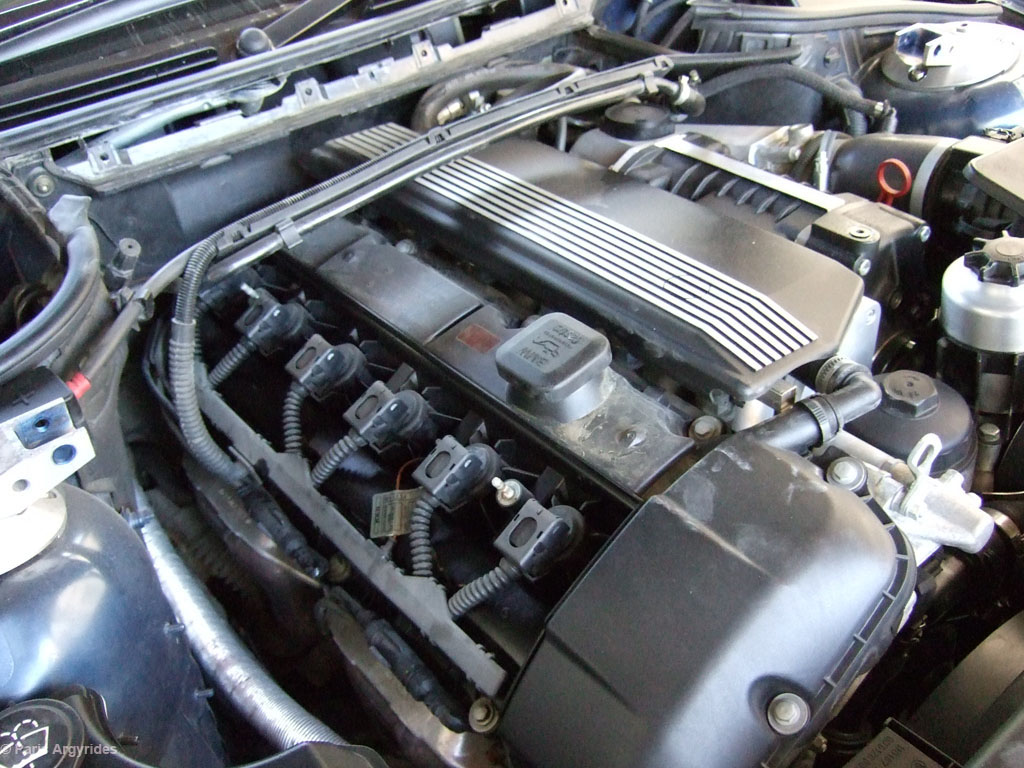
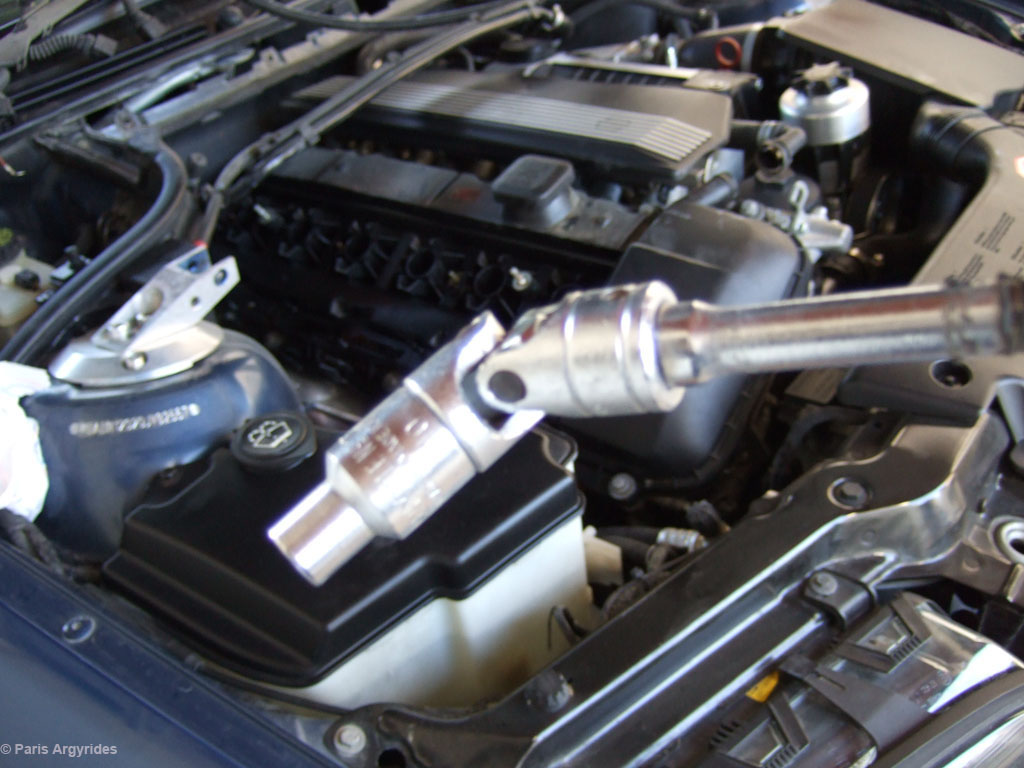
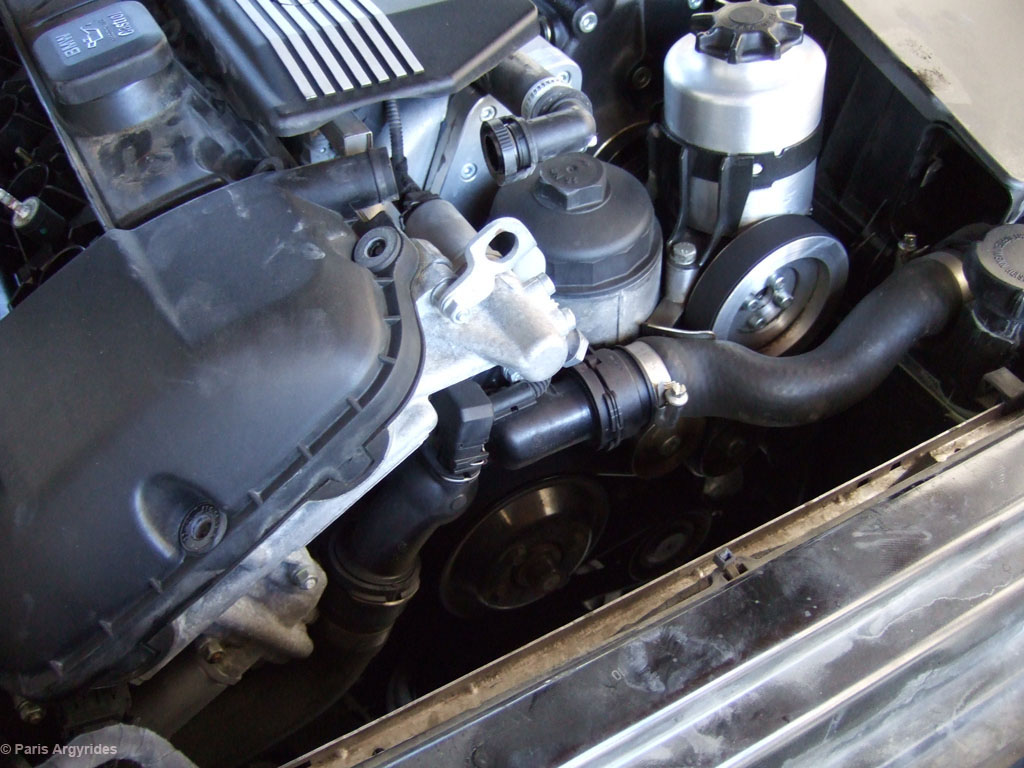
Engine before
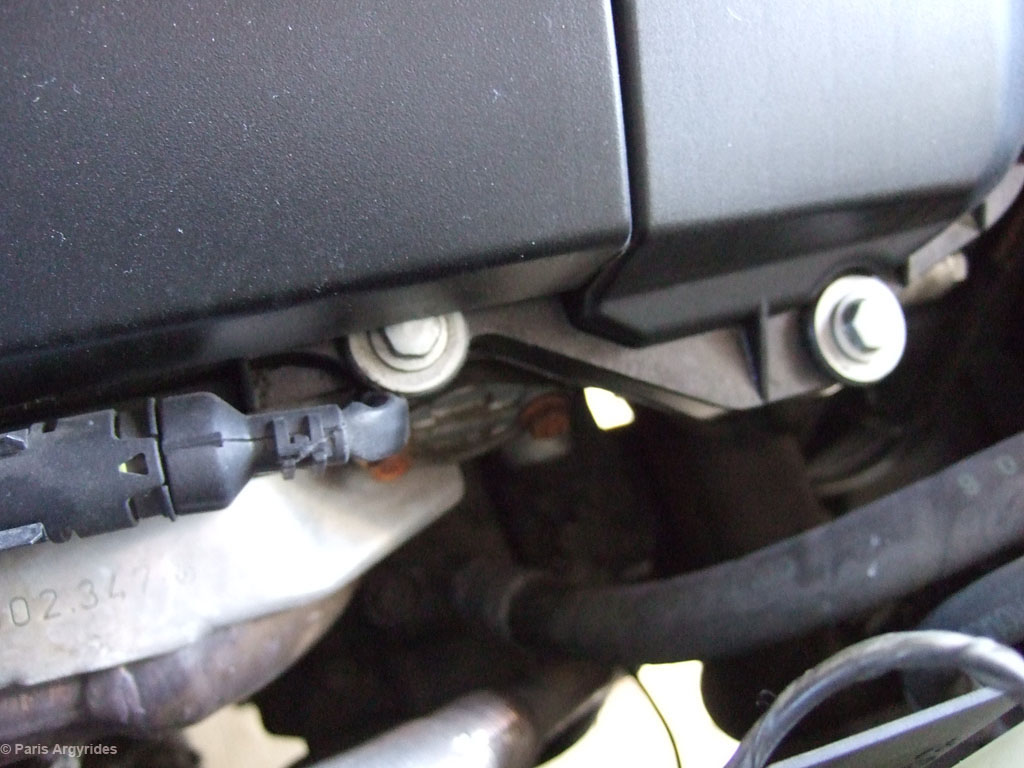
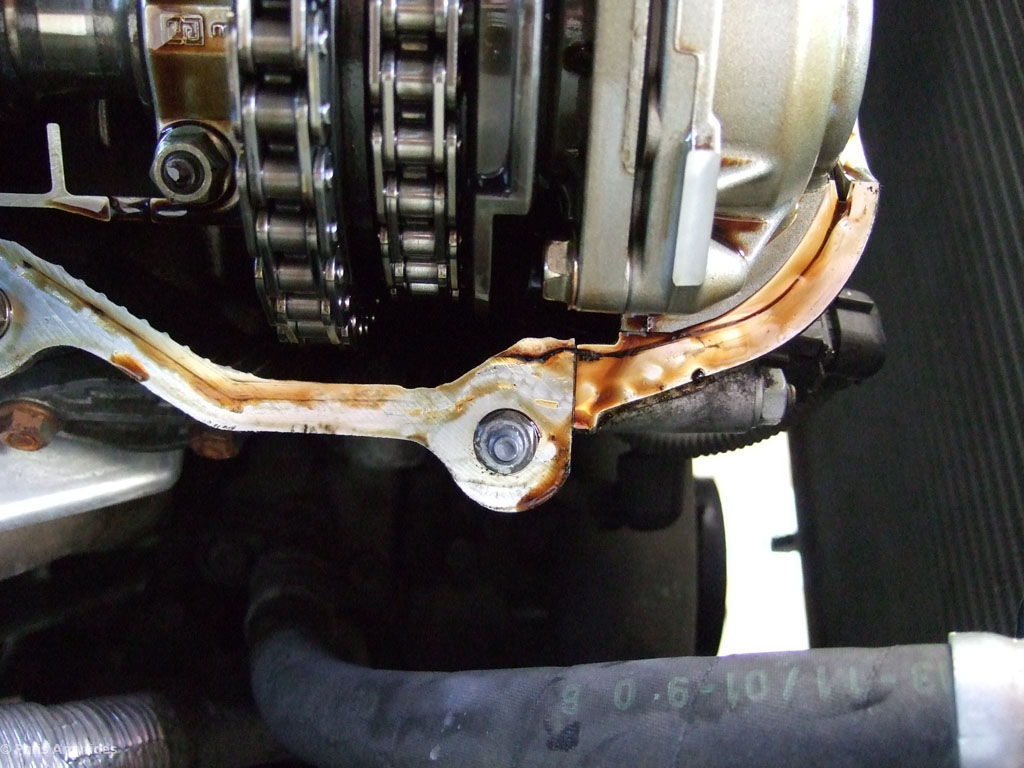
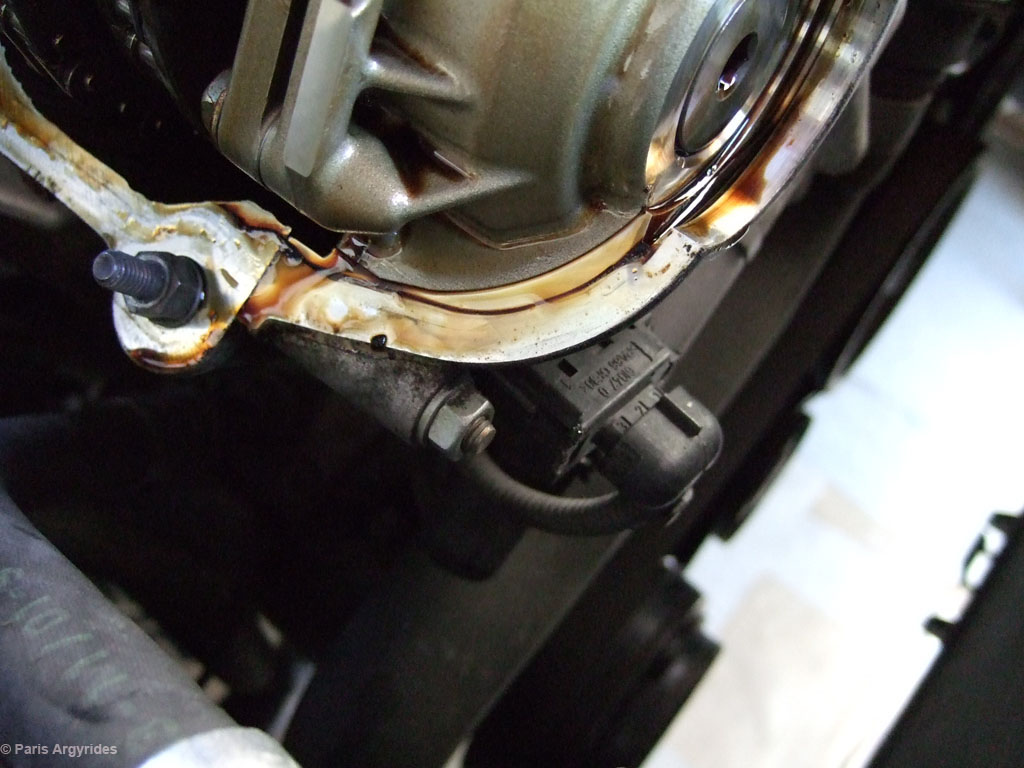
Leaking point
Engine cover off
Removal of ground wire - Don't forget to place it back afterwards or you will experience missfires
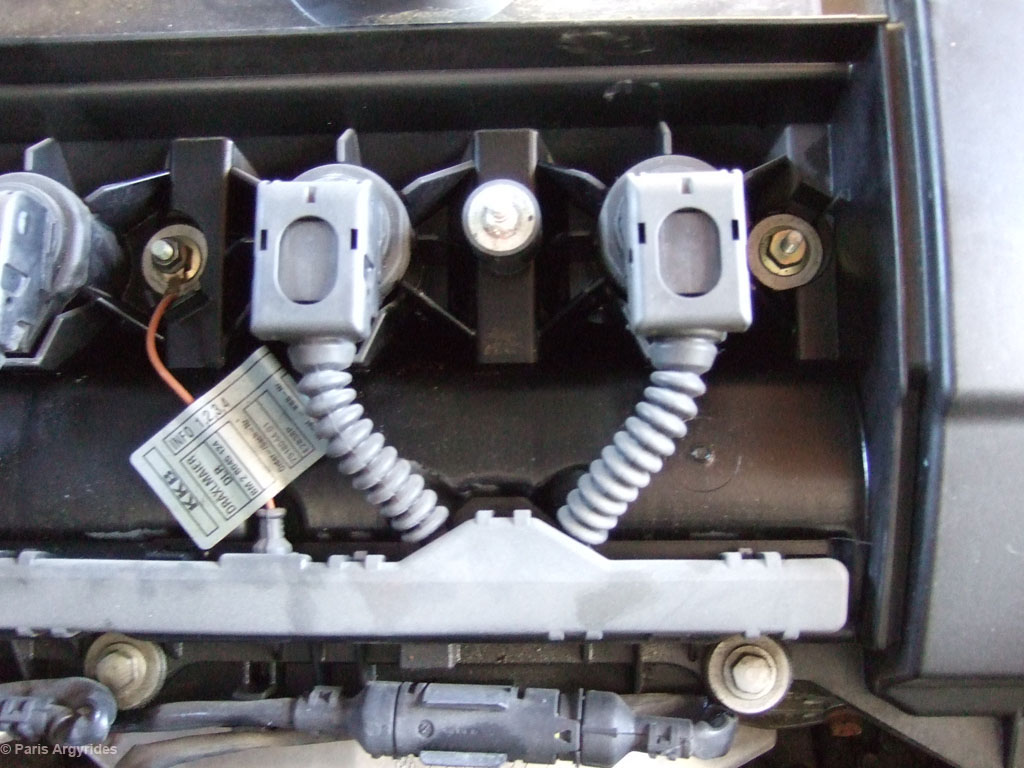
Coils out
Pry and lift coil wires out of the way as well as O2 wirings.
8mm, 10mm, 11mm, 13mm 1/2" bits with U-joint & extension to access difficult spots
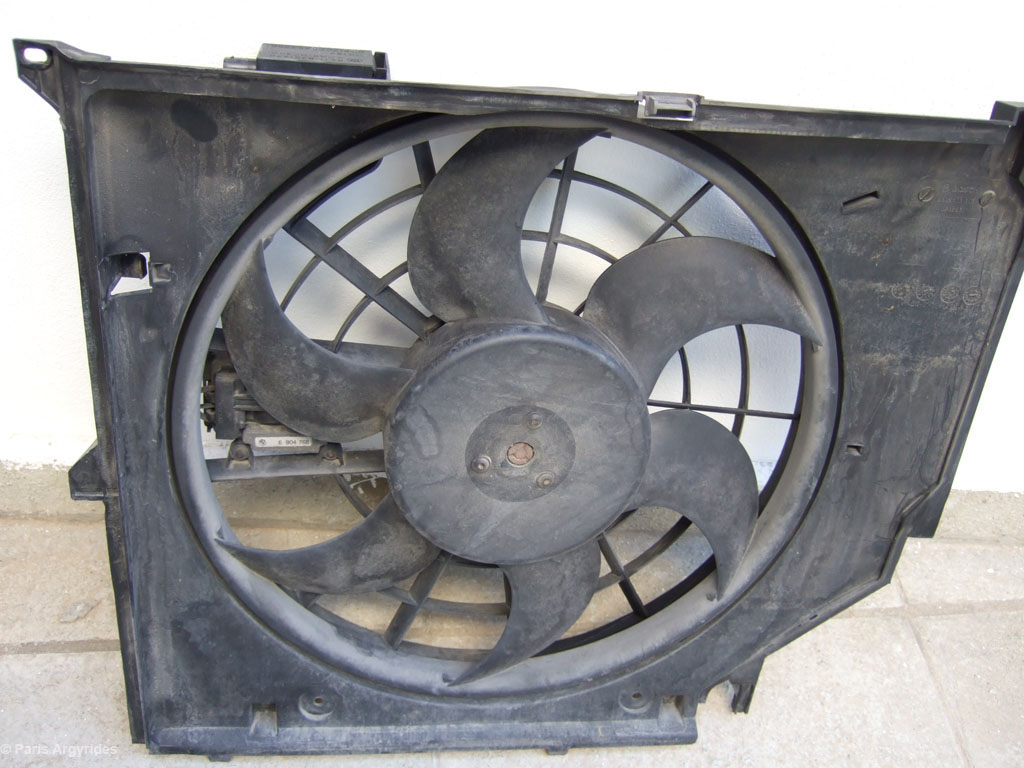
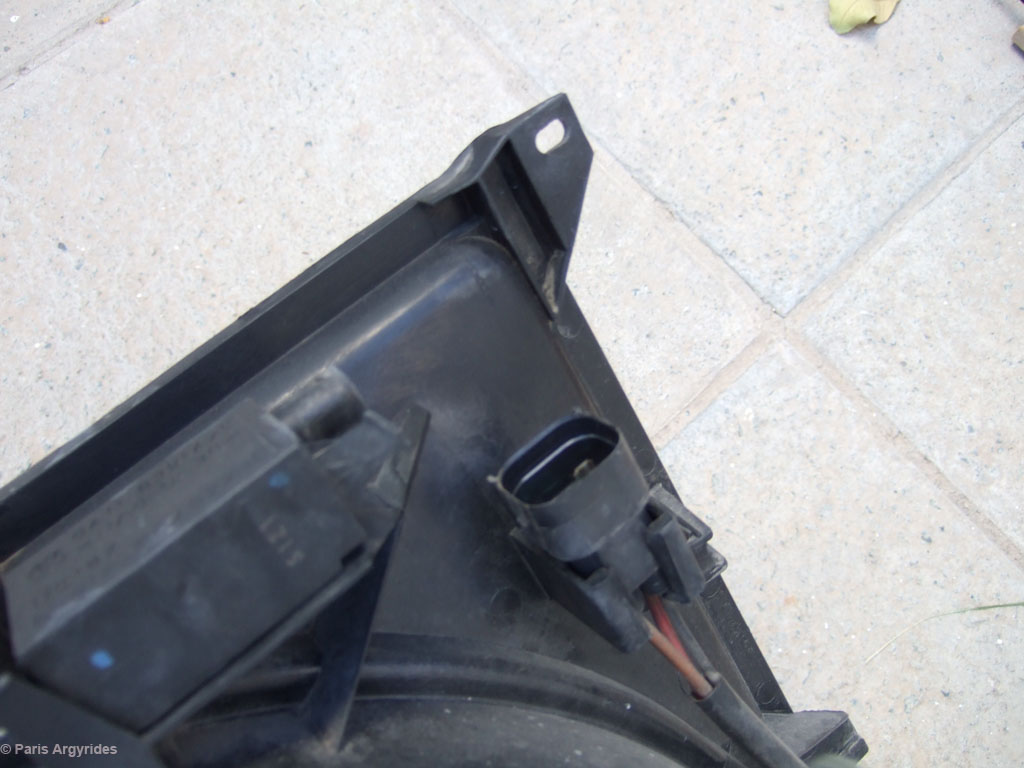
Fan out. 1 Torx screw, 2 connectors, 1 push/lock pin. Slides out!
Oil recirculation hose disconnected
15 bolts removed.
With some extra force, valve cover is removed. Thankfully no sludge. Engine is crystal clean
The leaking spot
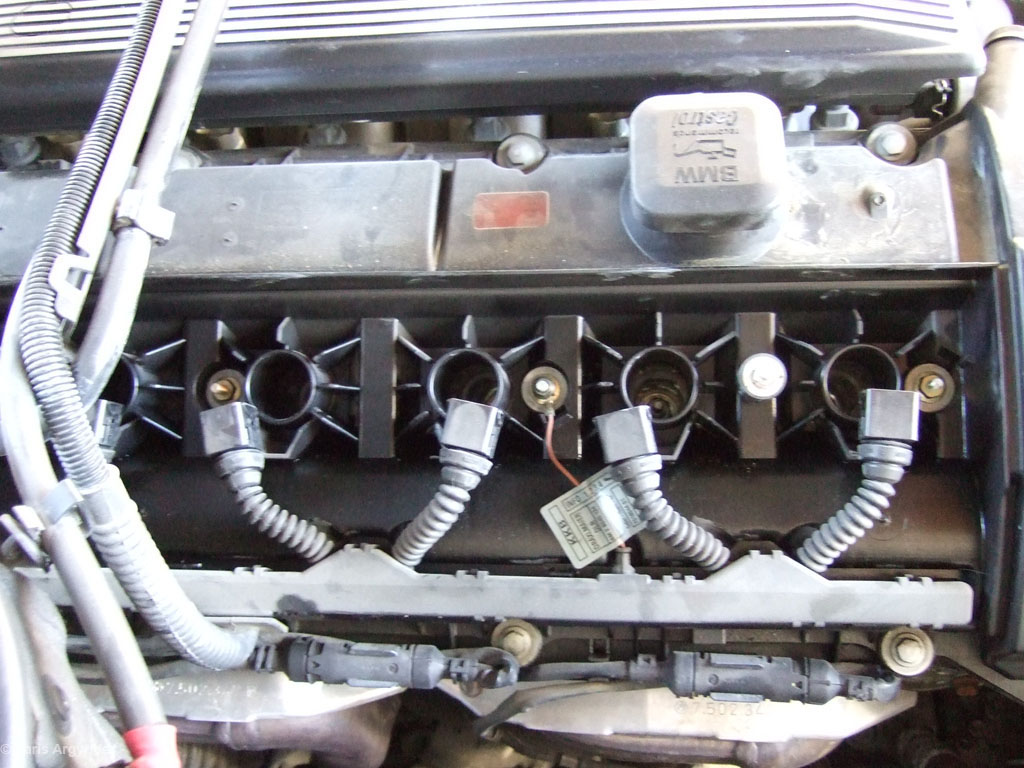
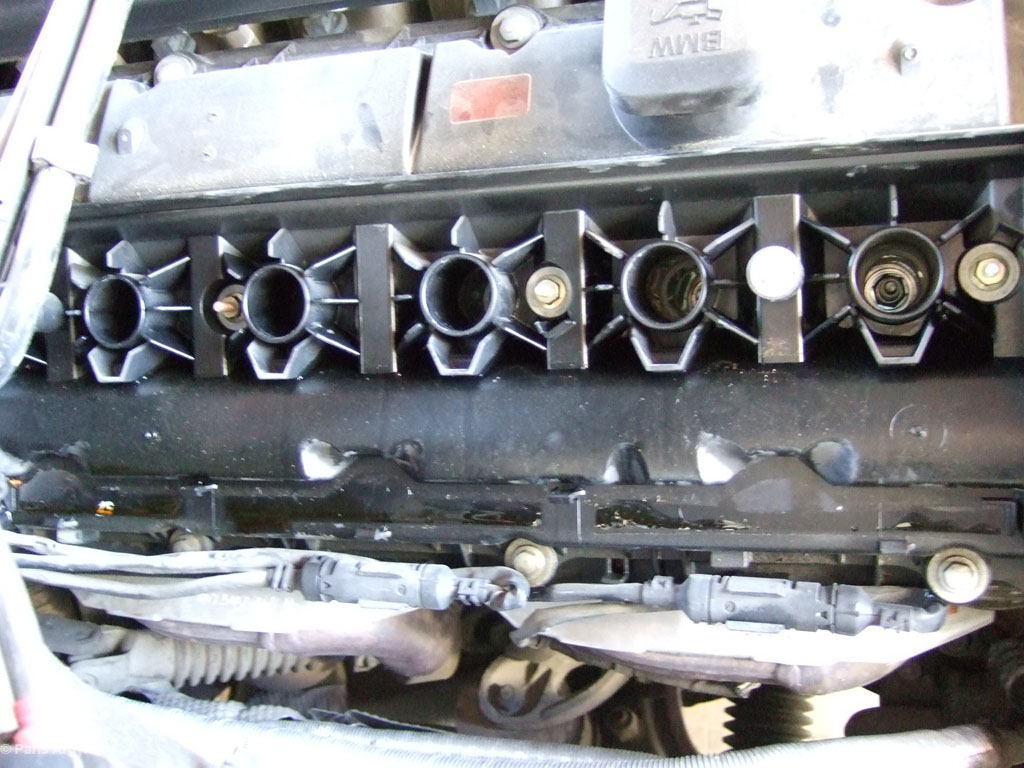
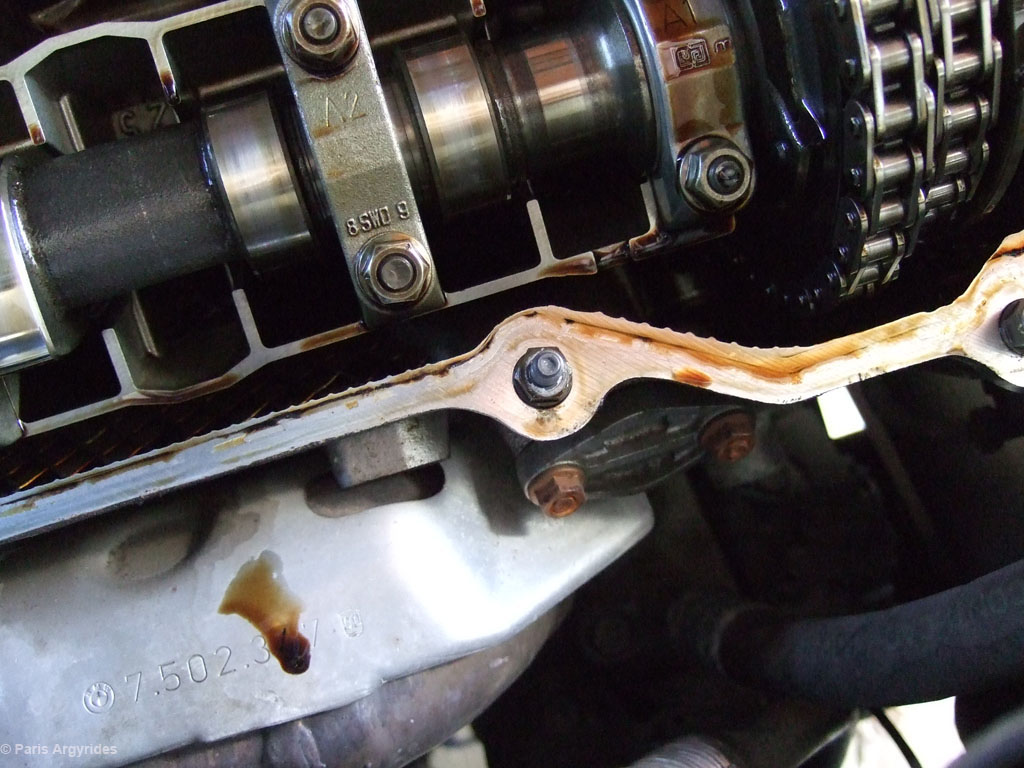
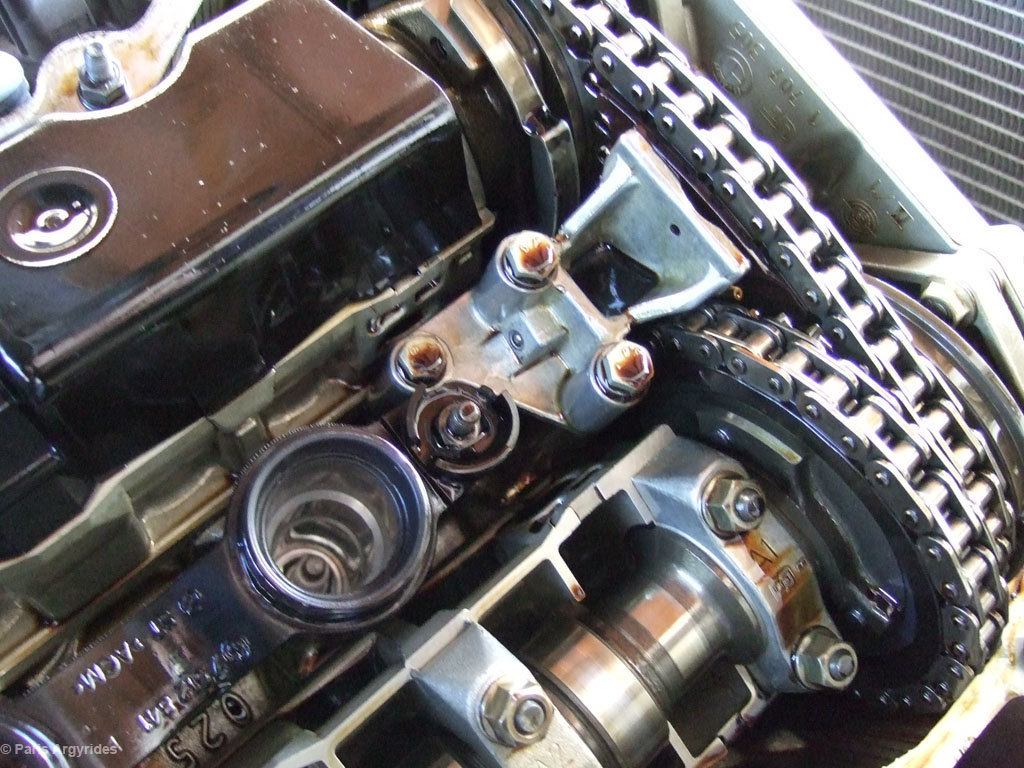
Intake camshaft closer
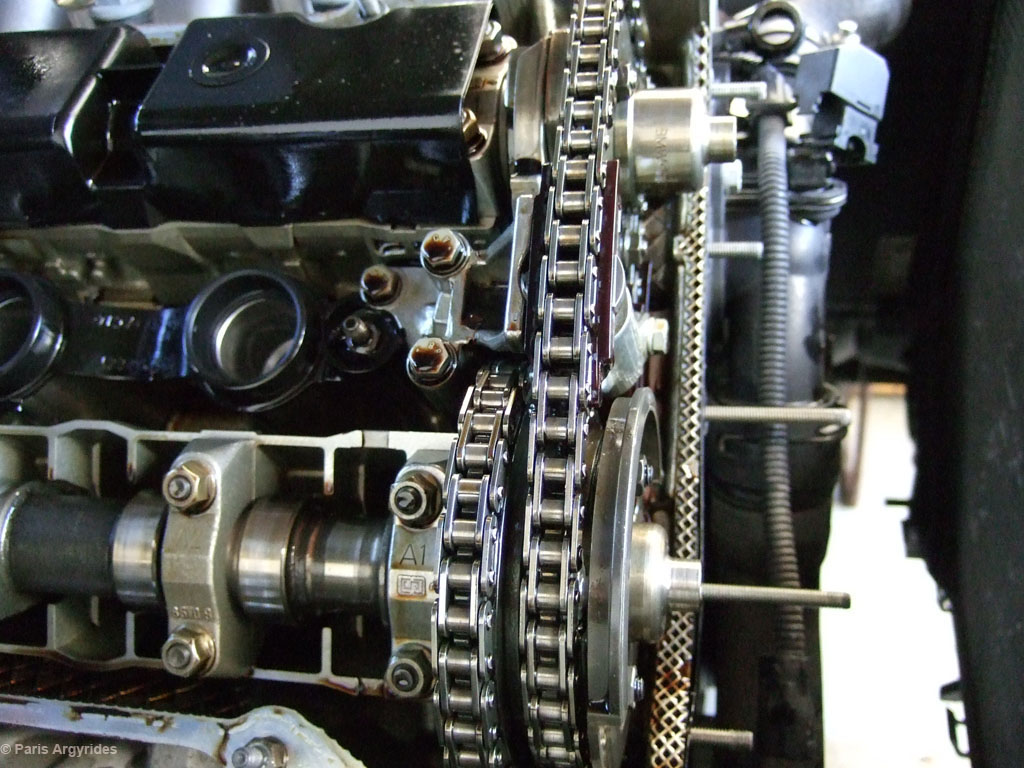
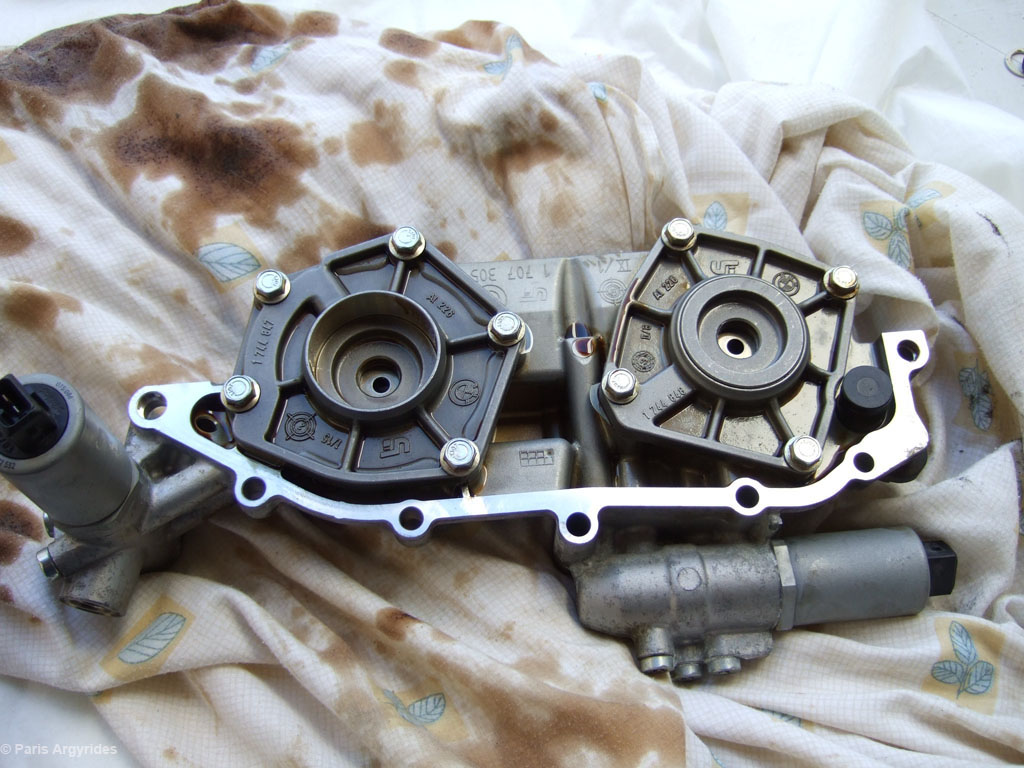
Timing chain & VANOS unit
Also changed the spark plug well gaskets
8mm allen key needed for the 2 VANOS cover bolts
13mm for the upper engine hoist mount and 10mm for the lower one. Rotate and remove
Disconnect exhaust camshaft plug and exhaust solenoid plug
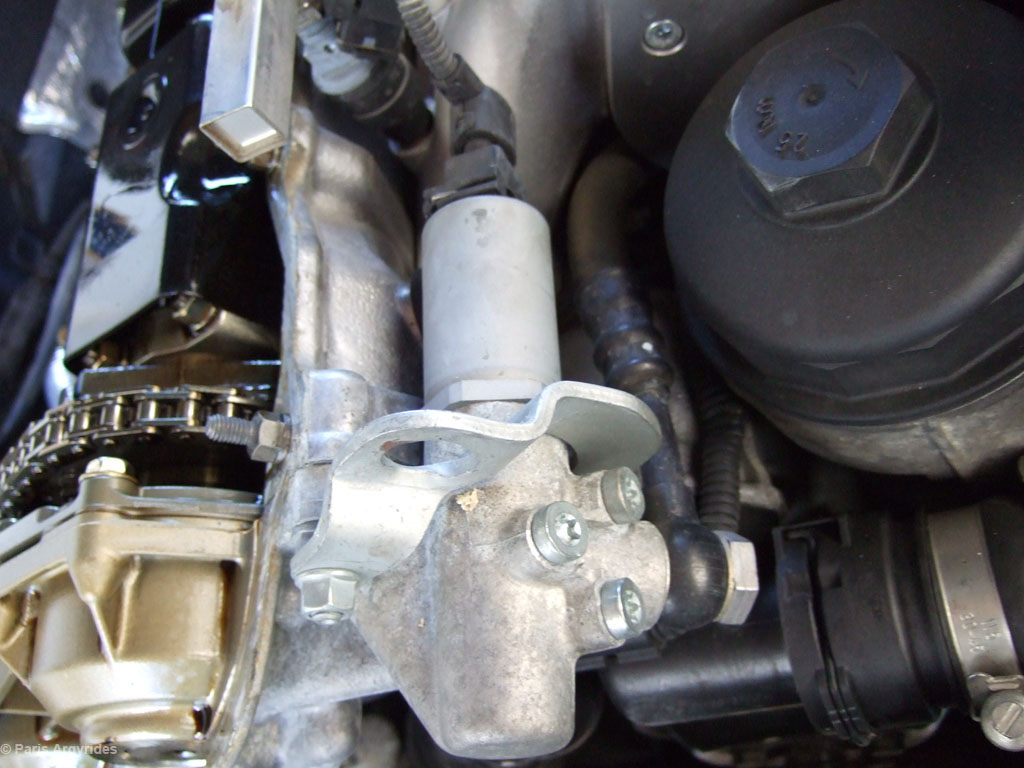
19mm wrench for VANOS oil supply hose. The 2 seals were discarded and replaced with new ones. Also Intake solenoid plug and thermostat plug disconnected.
Once the hoist is removed, plugs disconnected, 2 VANOS (8mm Allen) bolts removed, 6 nuts (10mm) at lower part removed, oil supply disconnected (19mm), 2 VANOS seals plugs removed (Long nose pliers), 2 Torx (reverse threaded) internal VANOS bolts removed, VANOS unit can slide out. Gasket around VANOS unit was replaced as well. Although no physical damage, I noticed that the ($5.00) new gasket was not completely flat, which means it would adapt its shape once torqued down.
VANOS out of the engine and on table with plenty of rags to catch trapped oil.
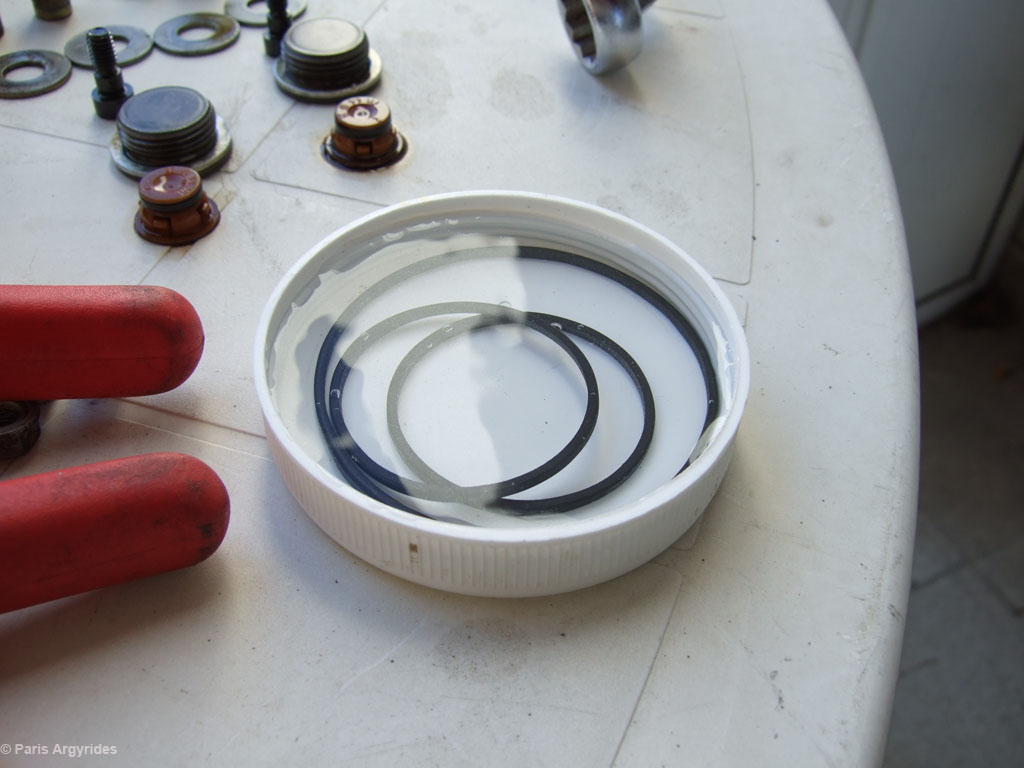
New seals soaking for 2 minutes in warm water to probably soften them, as per beisan instructions
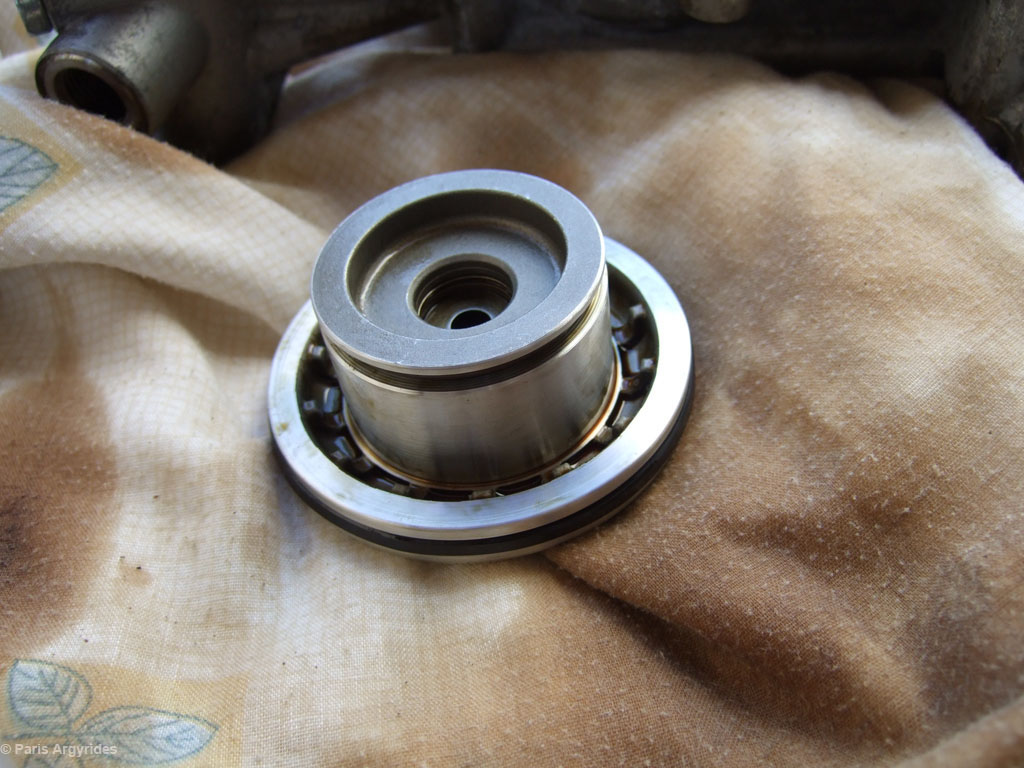
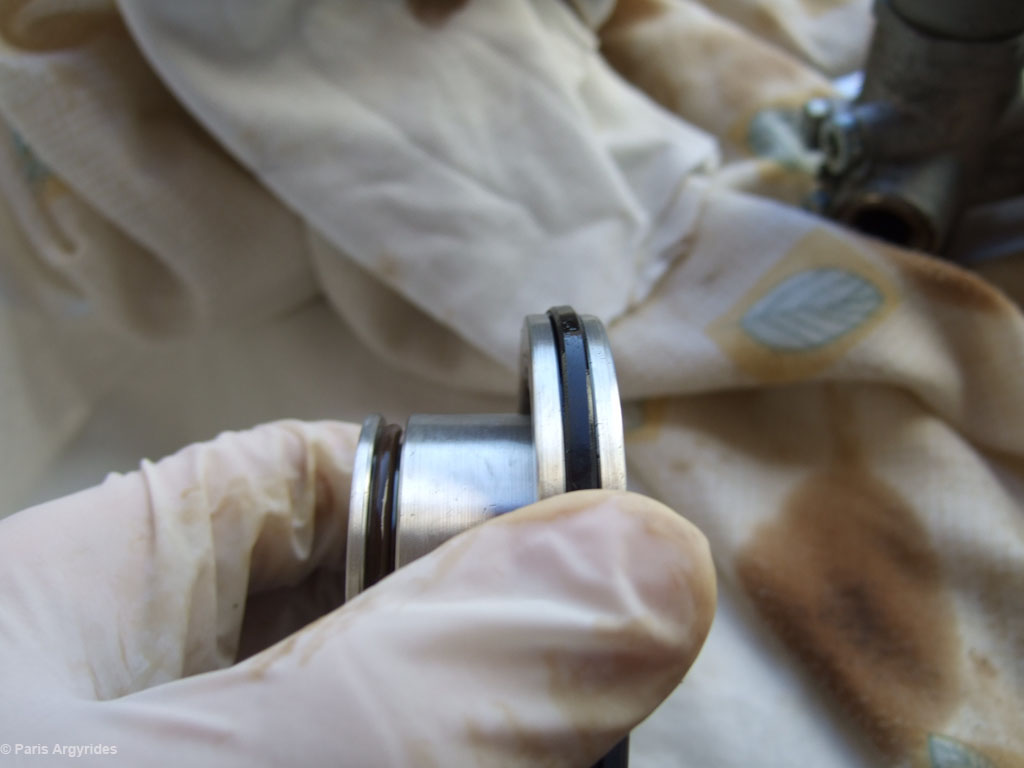
5 bolts for intake and 4 bolts for exhaust pistons removed and finally the pistons are out and ready for the new seals
With a razor knife I cut the old seals, cleaned everything, applied some motor oil and inserted the new seals in place.
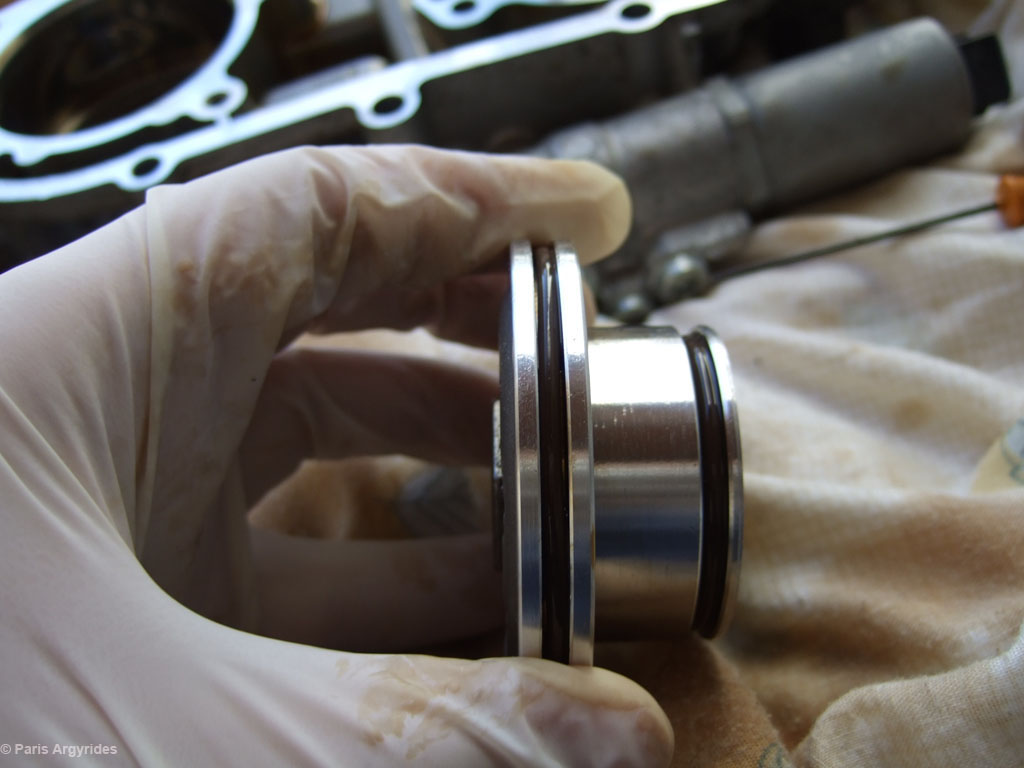
I inserted the piston with the new seals in the cylinder for 2 minutes to allow seals to shrink to proper size, removed and repeated the same for the other cylinder. I verified that the seals were correctly seated and reinstalled both covers. I initially screwed each bolt with hand and then torqued to 10Nm in a cross formation. After both caps were in place, I re-checked all bolts to be torqued down to specs before reversing the entire procedure for re-install.
Now doing the break-in to allow the seals to achieve max performance.
After 100 miles of city driving I have to say that there is a noticeable improvement in low-end torque and smoother power delivery. Also the car feels MUCH more responsive and torquey near redline too. |